Geth 搭建以太坊私有网络
02 Feb 2018
Geth
Geth 是 ethereum 协议的具体落地实现,通过 geth,你可以实现 ethereum 的各种功能,如账户的新建编辑删除,开启挖矿,ether 币的转移,智能合约的部署和执行等等。
Geth 又名 go-ethereum. 是以太坊协议的三种实现之一,Geth 可以被安装在很多操作系统上,包括 Windows、Linux、Mac 的 OSX、Android 或者 iOS 系统。
安装
brew tap ethereum/ethereum
brew install ethereum
过程比较慢,耐心等待。安装完成后,执行 geth version 验证:
$ geth version
Geth
Version: 1.7.3-stable
Architecture: amd64
Protocol Versions: [63 62]
Network Id: 1
Go Version: go1.9.3
Operating System: darwin
GOPATH=
GOROOT=/usr/local/Cellar/go/1.9.3/libexec
定义私有的创世状态
首先需要定义私有网络的起始状态,之后的所有节点都需要对其认可。起始状态由 JSON 文件定义,比如可以为 genesis.json。
命令行中进入到某个目录下,新建文件 genesis.json。
{
  "config": {
        "chainId": 123456,
        "homesteadBlock": 0,
        "eip155Block": 0,
        "eip158Block": 0
    },
  "alloc"      : {},
  "coinbase"   : "0x0000000000000000000000000000000000000000",
  "difficulty" : "0x20000",
  "extraData"  : "",
  "gasLimit"   : "0x2fefd8",
  "nonce"      : "0x0000000000000042",
  "mixhash"    : "0x0000000000000000000000000000000000000000000000000000000000000000",
  "parentHash" : "0x0000000000000000000000000000000000000000000000000000000000000000",
  "timestamp"  : "0x00"
}
-
config.chainId// 区块链的ID,在 geth 命令中的 –networkid 参数需要与 chainId 的值一致 -
config.homesteadBlock// Homestead 硬分叉区块高度,不需要关注 -
config.eip155Block// EIP 155 硬分叉高度,不需要关注 -
config.eip158Block// EIP 158 硬分叉高度,不需要关注 -
coinbase// 矿工账号,第一个区块挖出后将给这个矿工账号发送奖励的以太币 -
difficulty// 难度值,越大越难 -
extraData// 附加信息随便填 -
gasLimit// gas 的消耗总量限制,用来限制区块能包含的交易信息总和,因为我们是私有链,所以填最大 -
nonce// 一个 64 位随机数 -
mixhash// 与 nonce 配合用于挖矿,由上一个区块的一部分生成的 hash -
parentHash// 上一个区块的 hash 值 -
alloc// 预设账号以及账号的以太币数量,私有链挖矿比较容易可以不配置
通常情况下以上的定义是没有问题的,但是最好将随机数改为某个随机值,防止被未知的远程节点连接。alloc 字段可以进行账户的配置,比如说为账户提供资金,便于测试。
"alloc": {
  "0x0000000000000000000000000000000000000001": {"balance": "111111111"},
  "0x0000000000000000000000000000000000000002": {"balance": "222222222"}
}
定义完 JSON 文件中定义的创世状态之后,还需要在启动前初始化每个 Geth 节点,来确保所有的区块链参数被设置正确。在项目目录下执行:
$ geth --datadir "./node_01" init genesis.json
”./node_01” 是用来指定 node 保存的目录。
WARN [02-05|12:07:43] No etherbase set and no accounts found as default
INFO [02-05|12:07:43] Allocated cache and file handles         database=/Users/qd-hxt/Documents/gworkspace/private-eth/node_01/geth/chaindata cache=16 handles=16
INFO [02-05|12:07:43] Writing custom genesis block
INFO [02-05|12:07:43] Successfully wrote genesis state         database=chaindata                                                             hash=b63ed5…4c90c6
INFO [02-05|12:07:43] Allocated cache and file handles         database=/Users/qd-hxt/Documents/gworkspace/private-eth/node_01/geth/lightchaindata cache=16 handles=16
INFO [02-05|12:07:43] Writing custom genesis block
INFO [02-05|12:07:43] Successfully wrote genesis state         database=lightchaindata                                                             hash=b63ed5…4c90c6
运行交互式 console
我们可以运行 Geth 内建的 JavaScript console,执行命令:
geth --datadir "./node_01" console 2>console.log
得到结果:
Welcome to the Geth JavaScript console!

instance: Geth/v1.7.3-stable/darwin-amd64/go1.9.3
 modules: admin:1.0 debug:1.0 eth:1.0 miner:1.0 net:1.0 personal:1.0 rpc:1.0 txpool:1.0 web3:1.0
输入 exit 可退出。
启动节点
$ geth --datadir "./node_01" --nodiscover --networkid 1234 console 2>console.log
-
--networkid与 genesis.json 中的 chainId 一致 -
--identity设置节点 ID -
--port geth节点端口 default: 30303 -
--rpc启用 rpc 服务 default: 8545 -
--rpcportrpc 服务端口 -
--rpccorsdomain这里配置“*”是允许通过任意域名访问,也可以指定具体的域名如:“http://yourdomain.com”
--nodiscover 关闭节点自动发现
--verbosity日志等级:0=silent, 1=error, 2=warn, 3=info, 4=debug, 5=detail (default: 3)
可以通过 admin.nodeInfo 查看节点信息。
> admin.nodeInfo
{
  enode: "enode://1c95422acbab6a5142a23d17e60797fbda2217e4e34ba2924eb7eec7f7fad4622f29cdad7f9ac67b832f9634530565c967c9bf50de8443169ad88c7c27f4c6f2@[::]:30303?discport=0",
  id: "1c95422acbab6a5142a23d17e60797fbda2217e4e34ba2924eb7eec7f7fad4622f29cdad7f9ac67b832f9634530565c967c9bf50de8443169ad88c7c27f4c6f2",
  ip: "::",
  listenAddr: "[::]:30303",
  name: "Geth/v1.7.3-stable/darwin-amd64/go1.9.3",
  ports: {
    discovery: 0,
    listener: 30303
  },
  protocols: {
    eth: {
      difficulty: 131072,
      genesis: "0xb63ed5e47ea59262356fed3e0bfa207cdd1d2253f57ec02acea174dde44c90c6",
      head: "0xb63ed5e47ea59262356fed3e0bfa207cdd1d2253f57ec02acea174dde44c90c6",
      network: 1234
    }
  }
}
创建用户
在 console 中创建账户:
> personal.newAccount('123456')
"0x0e037e8e4e2af2756e6ce92b8493d4fddeb85536"
其中,’123456’ 为账户的密码。
查看用户列表:
> personal.listAccounts
["0x0e037e8e4e2af2756e6ce92b8493d4fddeb85536"]
创建第二个节点并启动
在新的终端中执行命令:
$ geth --datadir "./node_02" init genesis.json
WARN [02-05|12:07:43] No etherbase set and no accounts found as default
INFO [02-05|12:07:43] Allocated cache and file handles         database=/Users/qd-hxt/Documents/gworkspace/private-eth/node_01/geth/chaindata cache=16 handles=16
INFO [02-05|12:07:43] Writing custom genesis block
INFO [02-05|12:07:43] Successfully wrote genesis state         database=chaindata                                                             hash=b63ed5…4c90c6
INFO [02-05|12:07:43] Allocated cache and file handles         database=/Users/qd-hxt/Documents/gworkspace/private-eth/node_01/geth/lightchaindata cache=16 handles=16
INFO [02-05|12:07:43] Writing custom genesis block
INFO [02-05|12:07:43] Successfully wrote genesis state         database=lightchaindata                                                             hash=b63ed5…4c90c6
$ geth --datadir "./node_02" --port 30304 --nodiscover --networkid 1234 console 2>console.log
通过 --port 30304 修改端口,避免冲突。
连接
查看当前网络中已连接的节点。
> admin.peers
[]
可见当前没有节点。
在第一个节点的终端中执行:
admin.addPeer("enode://d173c99eef3e8c540ca47e60b42060f1cdd1cde1aa8d7344962bdafdd0859e8b95e3f475e1c902e1a156f999113d8f9845459afae158896641d4afefe271fb82@[::]:30304?discport=0")
"enode://d173c99eef3e8c540ca47e60b42060f1cdd1cde1aa8d7344962bdafdd0859e8b95e3f475e1c902e1a156f999113d8f9845459afae158896641d4afefe271fb82@[::]:30304?discport=0" 是第二个节点的 admin.nodeInfo 中的 enode 信息。
此时再查看节点信息,可以看到:
> admin.peers

[{
    caps: ["eth/63"],
    id: "d173c99eef3e8c540ca47e60b42060f1cdd1cde1aa8d7344962bdafdd0859e8b95e3f475e1c902e1a156f999113d8f9845459afae158896641d4afefe271fb82",
    name: "Geth/v1.7.3-stable/darwin-amd64/go1.9.3",
    network: {
      localAddress: "[::1]:49893",
      remoteAddress: "[::1]:30304"
    },
    protocols: {
      eth: {
        difficulty: 131072,
        head: "0xb63ed5e47ea59262356fed3e0bfa207cdd1d2253f57ec02acea174dde44c90c6",
        version: 63
      }
    }
}]
在第二个终端中执行类似的操作。
挖矿
查看区块数量:
> eth.blockNumber
0
这是因为还没开始挖矿,第一个终端中执行命令开始挖矿:
>  miner.start(1)

null
此时新建新的终端窗口通过命令:
$ tail -f console.log
INFO [02-05|15:36:45] Generating DAG in progress               epoch=0 percentage=28 elapsed=1m34.530s
INFO [02-05|15:36:50] Generating DAG in progress               epoch=0 percentage=29 elapsed=1m39.512s
INFO [02-05|15:36:54] Generating DAG in progress               epoch=0 percentage=30 elapsed=1m44.081s
INFO [02-05|15:36:59] Generating DAG in progress               epoch=0 percentage=31 elapsed=1m48.749s
INFO [02-05|15:37:04] Generating DAG in progress               epoch=0 percentage=32 elapsed=1m53.884s
INFO [02-05|15:37:09] Generating DAG in progress               epoch=0 percentage=33 elapsed=1m58.900s
INFO [02-05|15:37:14] Generating DAG in progress               epoch=0 percentage=34 elapsed=2m3.577s
INFO [02-05|15:37:18] Generating DAG in progress               epoch=0 percentage=35 elapsed=2m7.553s
INFO [02-05|15:37:22] Generating DAG in progress               epoch=0 percentage=36 elapsed=2m11.685s
INFO [02-05|15:37:25] Generating DAG in progress               epoch=0 percentage=37 elapsed=2m15.286s
INFO [02-05|15:37:29] Generating DAG in progress               epoch=0 percentage=38 elapsed=2m18.724s
INFO [02-05|15:37:32] Generating DAG in progress               epoch=0 percentage=39 elapsed=2m22.083s
percentage 加载到 100 就会开始挖。一段时间后再查看 block 的数量:
> eth.blockNumber
5
停止挖矿:
> miner.stop()

true
在另一个节点终端中,执行 eth.blockNumber 也可以看到区块的数量,因为第一个区块挖掘完成后会将区块信息进行广播。第二个节点收到区块信息验证后会将其添加到链中。
查询区块信息
可以看到,node_01/geth/chaindata 下和 node_02/geth/chaindata 的文件相似,实际上,文件中的数据是相同的。
第一个节点的终端中,查看 index 为 12 的区块信息:
> eth.getBlock(12)
{
  difficulty: 131648,
  extraData: "0xd883010703846765746887676f312e392e338664617277696e",
  gasLimit: 3178585,
  gasUsed: 0,
  hash: "0xe83828e13135003f69ade5c5828aa5ef335ca6daf618572aa11aa06dc9074a38",
  logsBloom: "0x00000000000000000000000000000000000000000000000000000000000000000000000000000000000000000000000000000000000000000000000000000000000000000000000000000000000000000000000000000000000000000000000000000000000000000000000000000000000000000000000000000000000000000000000000000000000000000000000000000000000000000000000000000000000000000000000000000000000000000000000000000000000000000000000000000000000000000000000000000000000000000000000000000000000000000000000000000000000000000000000000000000000000000000000000000000",
  miner: "0x0e037e8e4e2af2756e6ce92b8493d4fddeb85536",
  mixHash: "0x056e37a82d539164a0418a376c26aac82ea40b0ca9faf5f8bc29b9f35f672f2a",
  nonce: "0x1824b7b8e8a8f89a",
  number: 12,
  parentHash: "0xcb6654430e3a39855563078c937aa3079ab2908c6ce36cfcc16cffc7713cdec3",
  receiptsRoot: "0x56e81f171bcc55a6ff8345e692c0f86e5b48e01b996cadc001622fb5e363b421",
  sha3Uncles: "0x1dcc4de8dec75d7aab85b567b6ccd41ad312451b948a7413f0a142fd40d49347",
  size: 536,
  stateRoot: "0x24ab7bb56c97cfd67d95571cd3f1ea20cd12707992fe65ddd3759ec57f737e5d",
  timestamp: 1517816470,
  totalDifficulty: 1706816,
  transactions: [],
  transactionsRoot: "0x56e81f171bcc55a6ff8345e692c0f86e5b48e01b996cadc001622fb5e363b421",
  uncles: []
}
第二个节点的终端中同样可查看到相同的区块信息,hash 都为 0xe83828e13135003f69ade5c5828aa5ef335ca6daf618572aa11aa06dc9074a38。
再查看 78 区块的 hash 也都为 0x8d7acfd94b2fb0286e0c1477f70584bbe9ed723be3890e4bb575266cf983b4bf。
注意:参数
--networkid必须要一致,不然添加后admin.peers查找不到。
通过命令 eth.getBlock(eth.blockNumber).miner 可以查看挖到最新区块的矿工。
> eth.getBlock(eth.blockNumber).miner
"0x0e037e8e4e2af2756e6ce92b8493d4fddeb85536"
实际上,输出就是第一个节点的账户地址:
> personal.listAccounts
["0x0e037e8e4e2af2756e6ce92b8493d4fddeb85536"]
查看矿工地址的账户余额,随着不停地挖矿,也账户的余额会不断增加:
> eth.getBalance(eth.getBlock(eth.blockNumber).miner)
7.18e+21
> eth.getBalance(eth.getBlock(eth.blockNumber).miner)
7.185e+21
> eth.getBalance(eth.getBlock(eth.blockNumber).miner)
7.19e+21
第二个节点添加账户(挖矿前必须先添加账户),并开始挖矿:
> personal.newAccount()
Passphrase:
Repeat passphrase:
"0xa61d11112ea4cdcde9a1107062d0e773b7eec2c9"
> personal.listAccounts
["0xa61d11112ea4cdcde9a1107062d0e773b7eec2c9"]

> miner.start(1)
null
初始化完成后,查看最新区块的矿工地址:
> eth.getBlock(eth.blockNumber).miner
"0xa61d11112ea4cdcde9a1107062d0e773b7eec2c9"
> eth.getBlock(eth.blockNumber).miner
"0xa61d11112ea4cdcde9a1107062d0e773b7eec2c9"
> eth.getBlock(eth.blockNumber).miner
"0x0e037e8e4e2af2756e6ce92b8493d4fddeb85536"
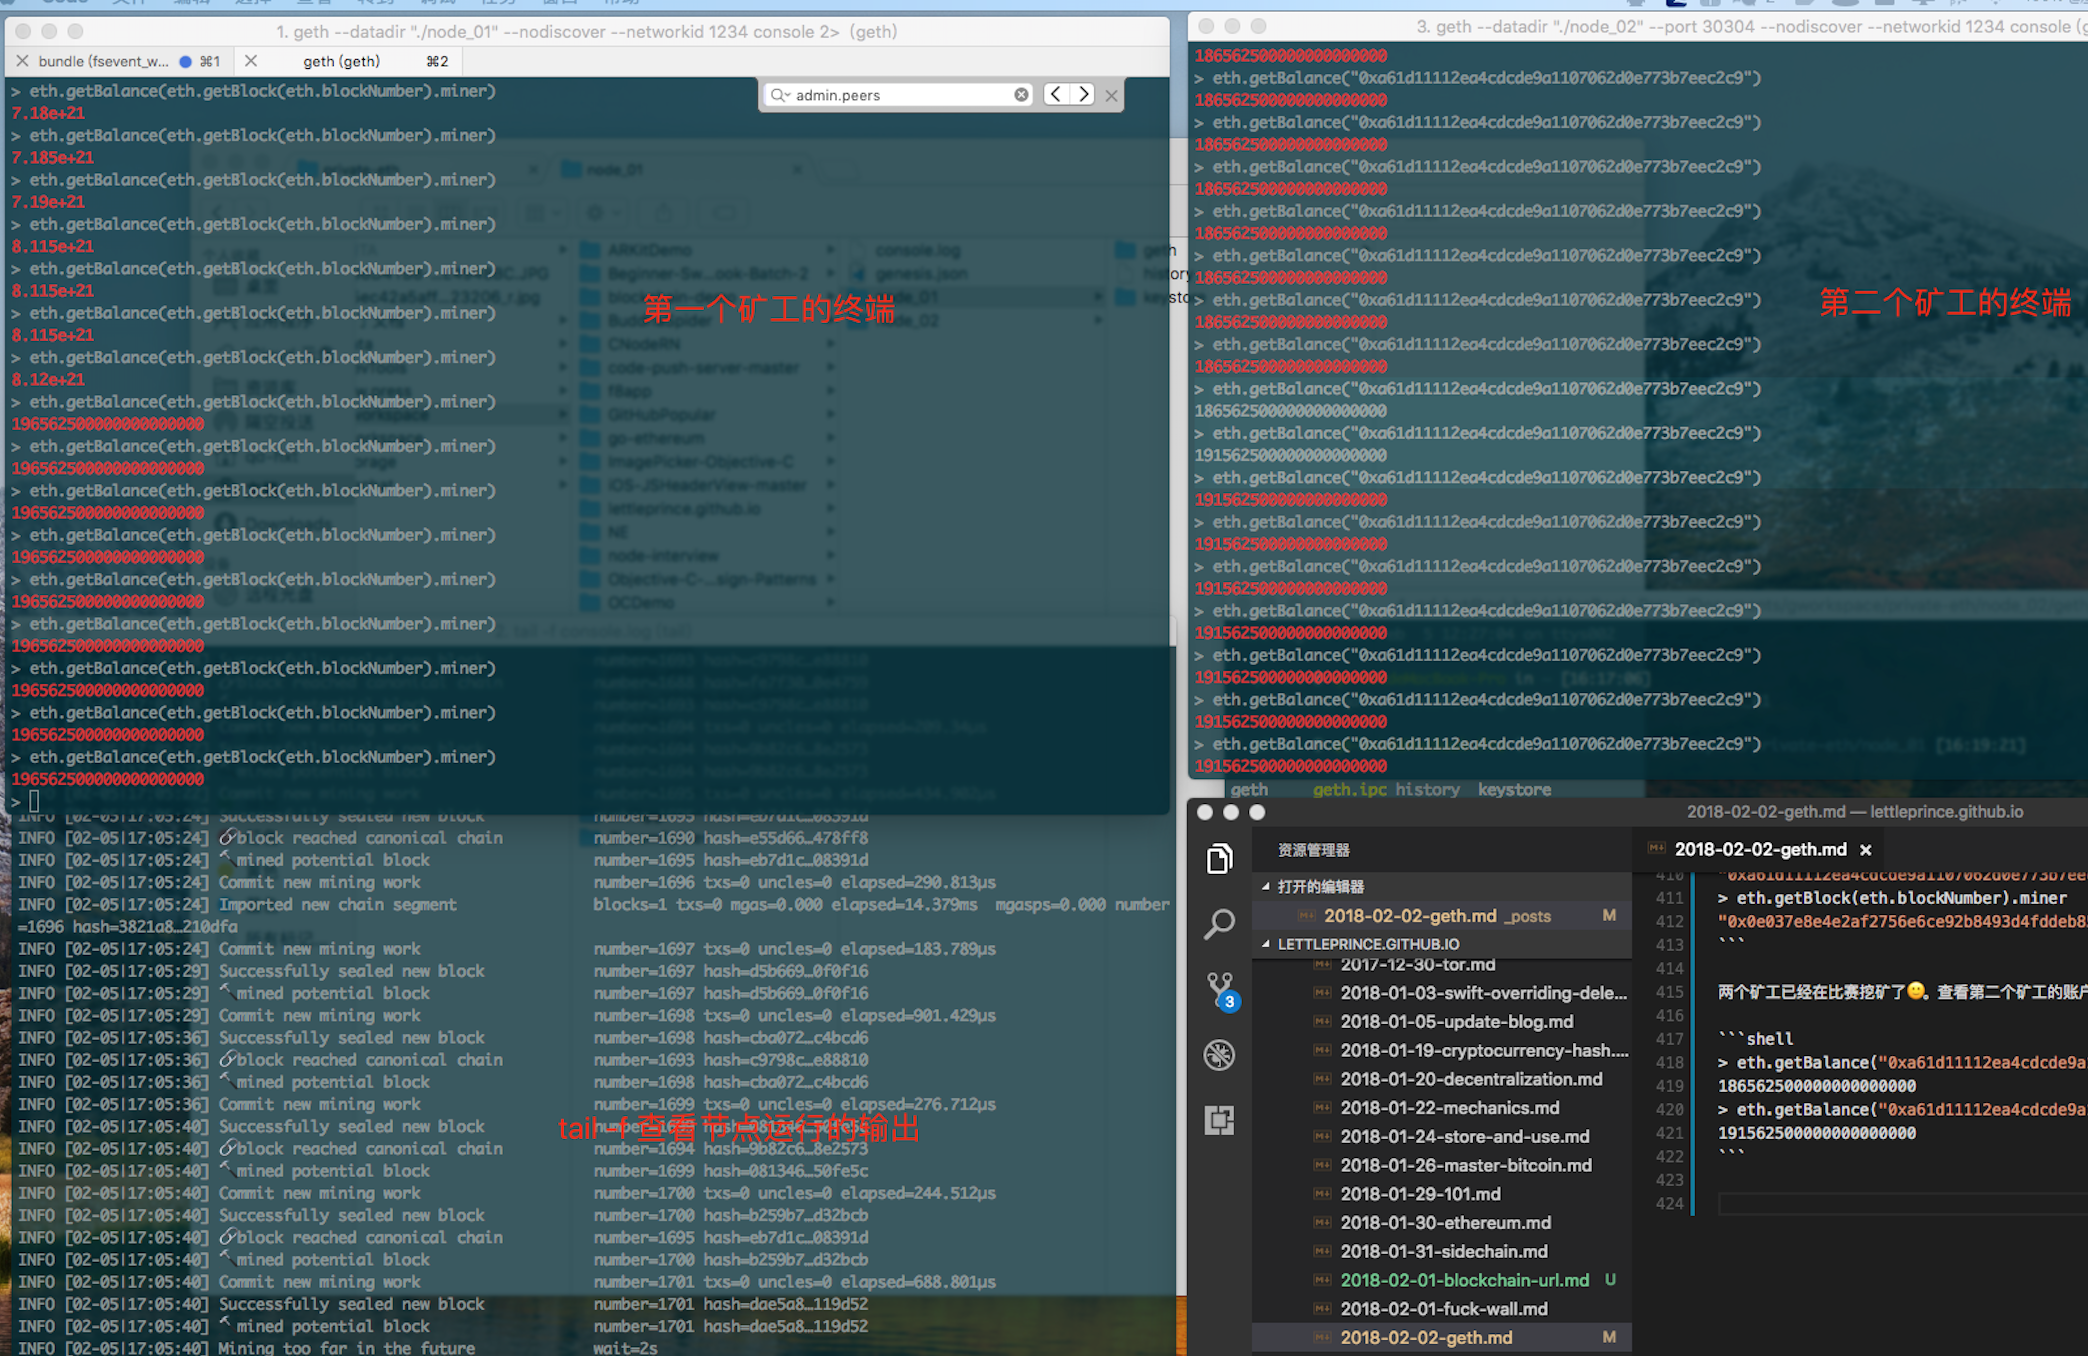
两个矿工已经在比赛挖矿了🙂。查看第二个矿工的账户:
> eth.getBalance("0xa61d11112ea4cdcde9a1107062d0e773b7eec2c9")
186562500000000000000
> eth.getBalance("0xa61d11112ea4cdcde9a1107062d0e773b7eec2c9")
191562500000000000000
最后贴一下桌面的截图:
补充:
使用 ipc 调用(这里是指在同一台计算机上的其他进程可以使用IPC文件创建与geth的双向通信,比如说在其他终端中调用同一个节点):
$ geth --datadir "./node_01" --nodiscover --networkid 1234 --ipcpath "./node_01/geth.ipc" console 2>console.log
$ geth --datadir "./node_02" --port 30304 --nodiscover --networkid 1234 --ipcpath "./node_02/geth.ipc" console 2>console.log
其他终端中调用:
$ geth attach ipc:./node_01/geth.ipc
Welcome to the Geth JavaScript console!

instance: Geth/v1.7.3-stable/darwin-amd64/go1.9.3
coinbase: 0x0e037e8e4e2af2756e6ce92b8493d4fddeb85536
at block: 2106 (Mon, 05 Feb 2018 17:22:51 CST)
 datadir: /Users/qd-hxt/Documents/gworkspace/private-eth/node_01
 modules: admin:1.0 debug:1.0 eth:1.0 miner:1.0 net:1.0 personal:1.0 rpc:1.0 txpool:1.0 web3:1.0

>